
 |
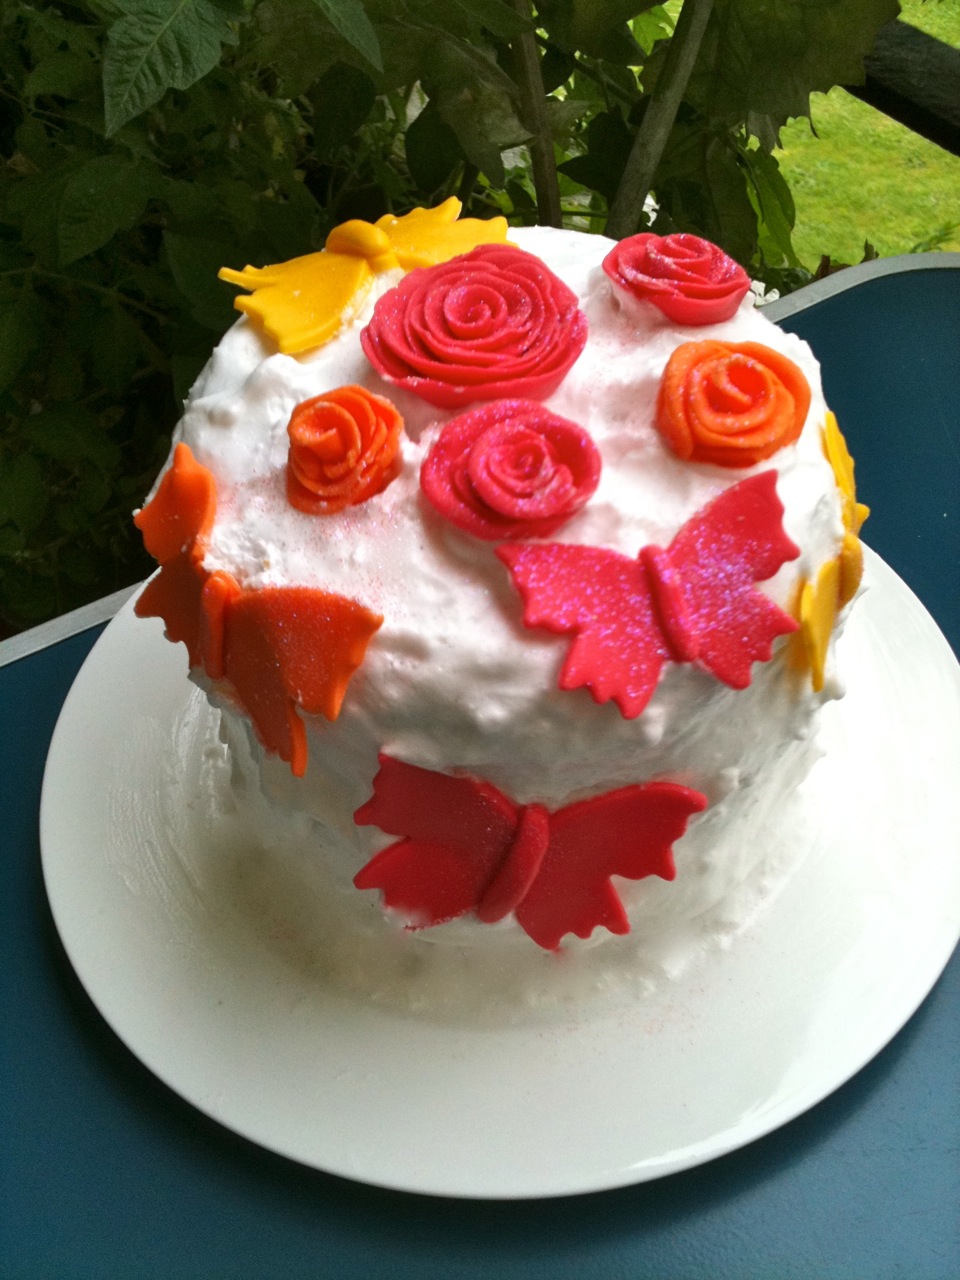
| my very first ‘not perfect’ sugar paste flour |
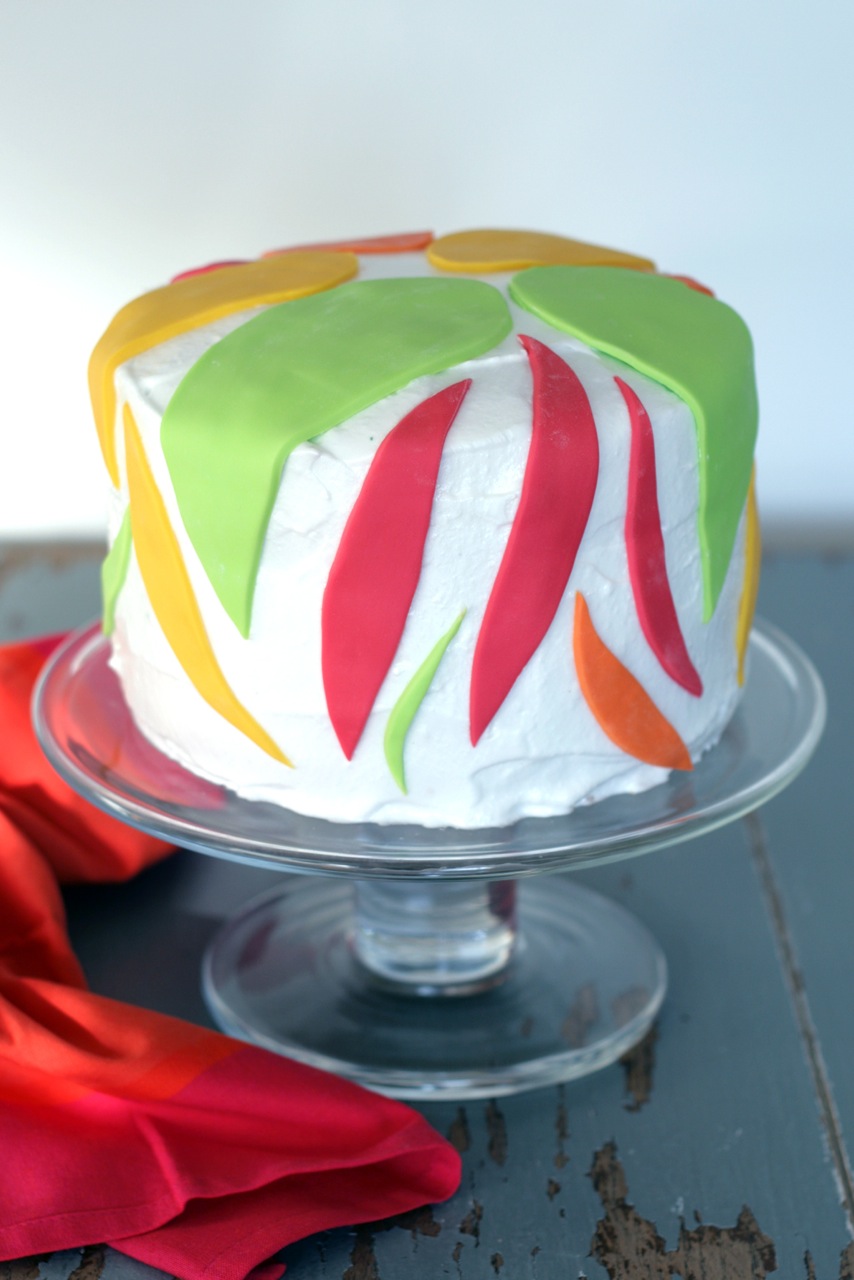
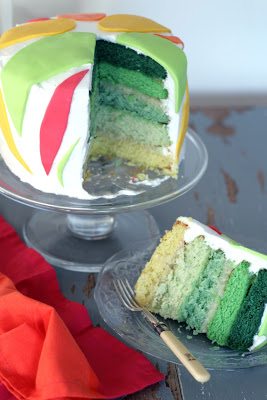
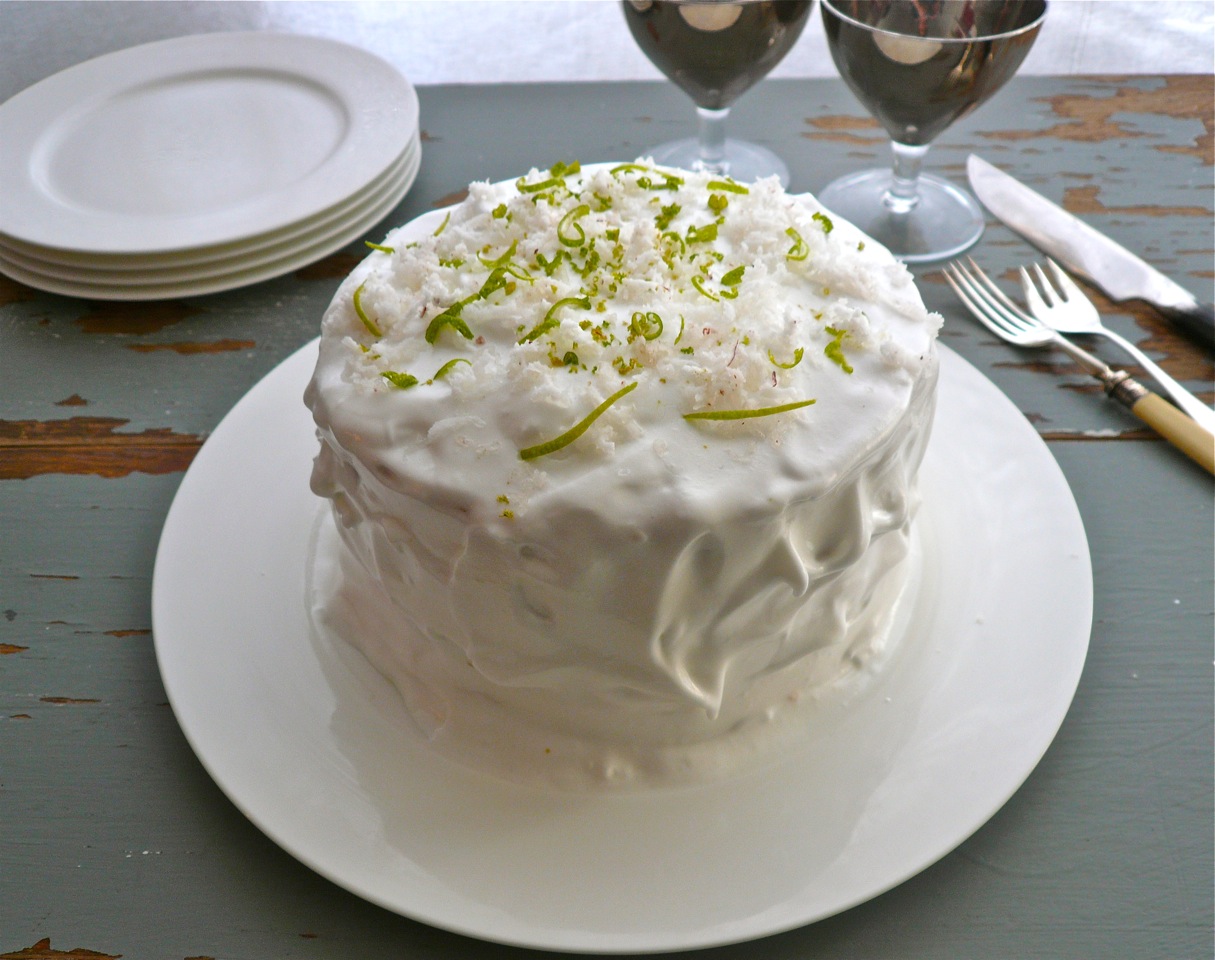
Gradient Lime & Coconut cake recipe
Cake mix:
2 ¼ cups flour
1 ½ cups of vanilla flavored sugar
¾ cup margarine
¾ cup coconut milk
Zest of 2 limes ( do add the juice if you want a stronger taste)
3 organic eggs
1 ½ teaspoons baking powder
1 vanilla seeds only
a variety of green food colorings – we used a mix of colour paste, silver spoon liquid and Morrison’s cheap liquid – we found that each one has a very distinct intensity to the colours. Morrison’s being the weakest of them all. However, it worked well with the other colours.method:
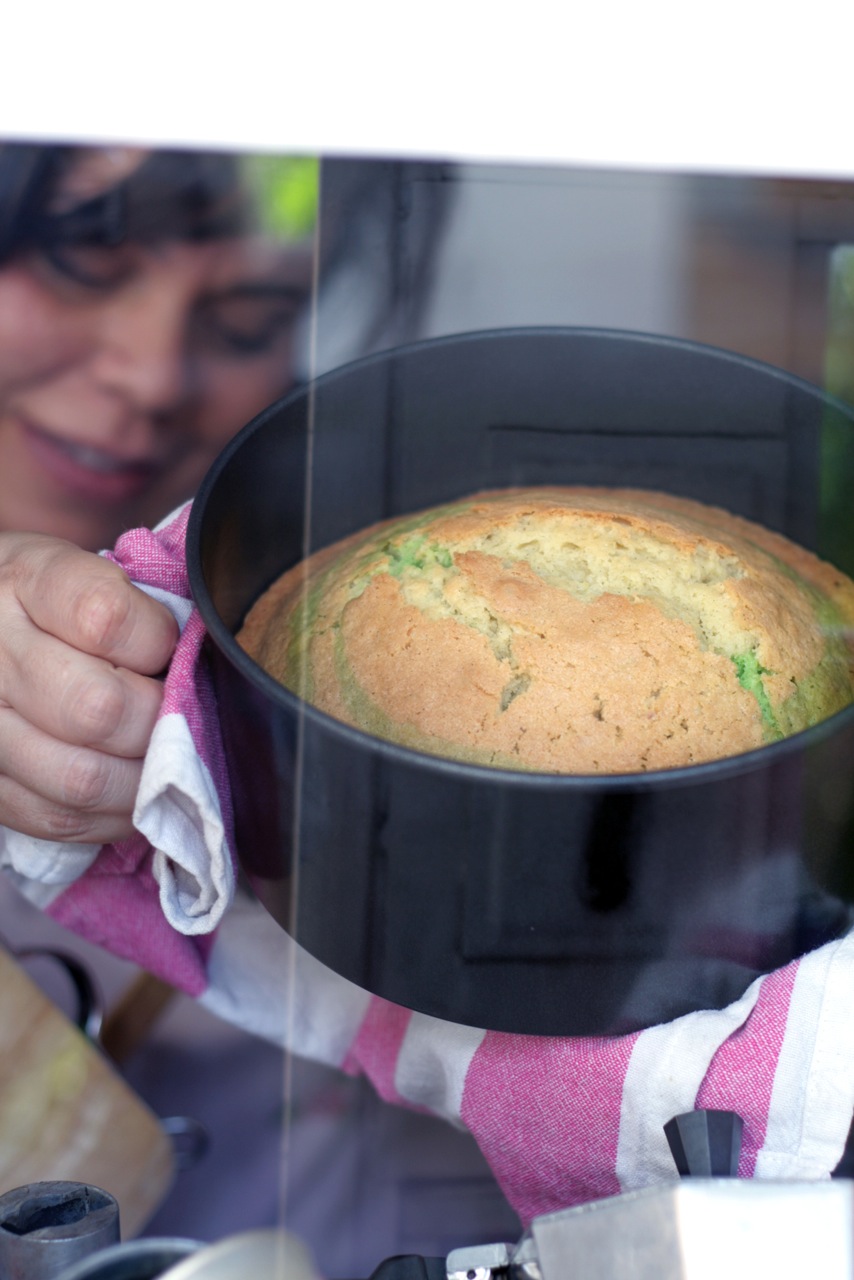
1. Preheat the oven (190C). Grease and flour round shaped moulds 12cm (6″) in diameter.

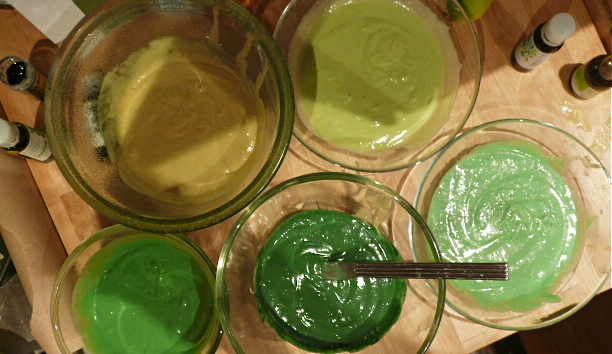 |
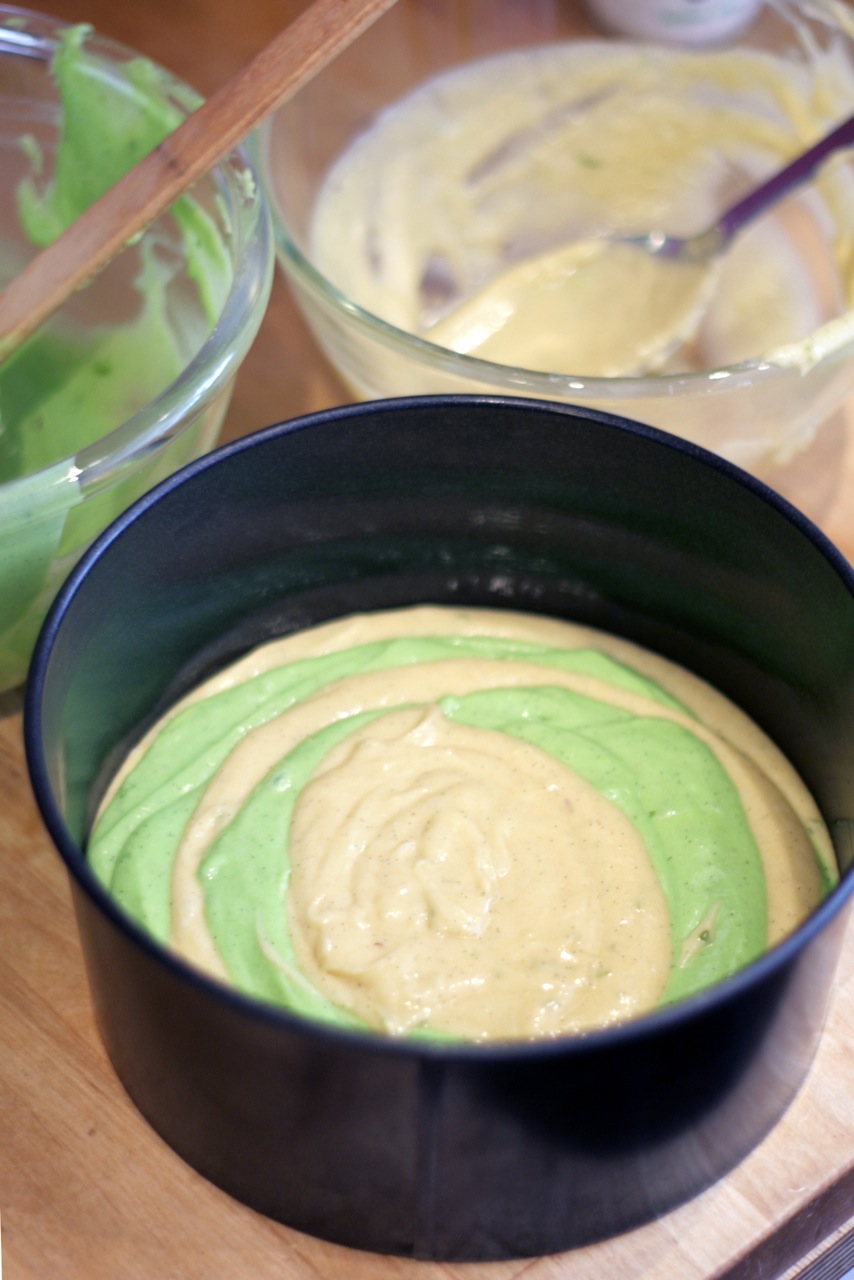
2. place the first eight ingredients in a large bowl and beat well. Divide the mixture in 5 bowls and add the green food coloring according to taste.
3. Pour in the mixture in to the moulds evenly and bake for 15 or 20 minutes each layer of cake
4. Let them cool and un-mould
1 knob of butter
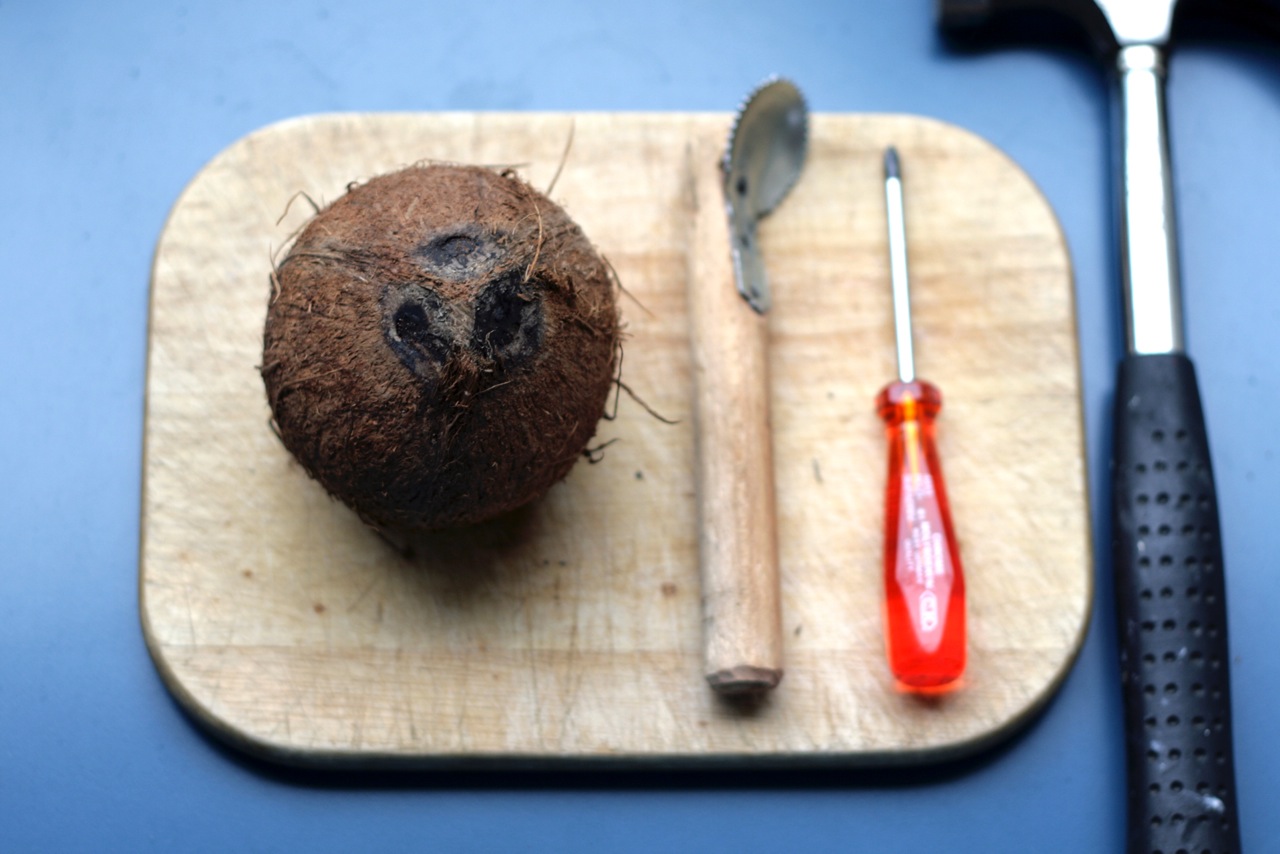
First how to open a coconut:
 |
 |
||
|
drain all the water from the coconut
|

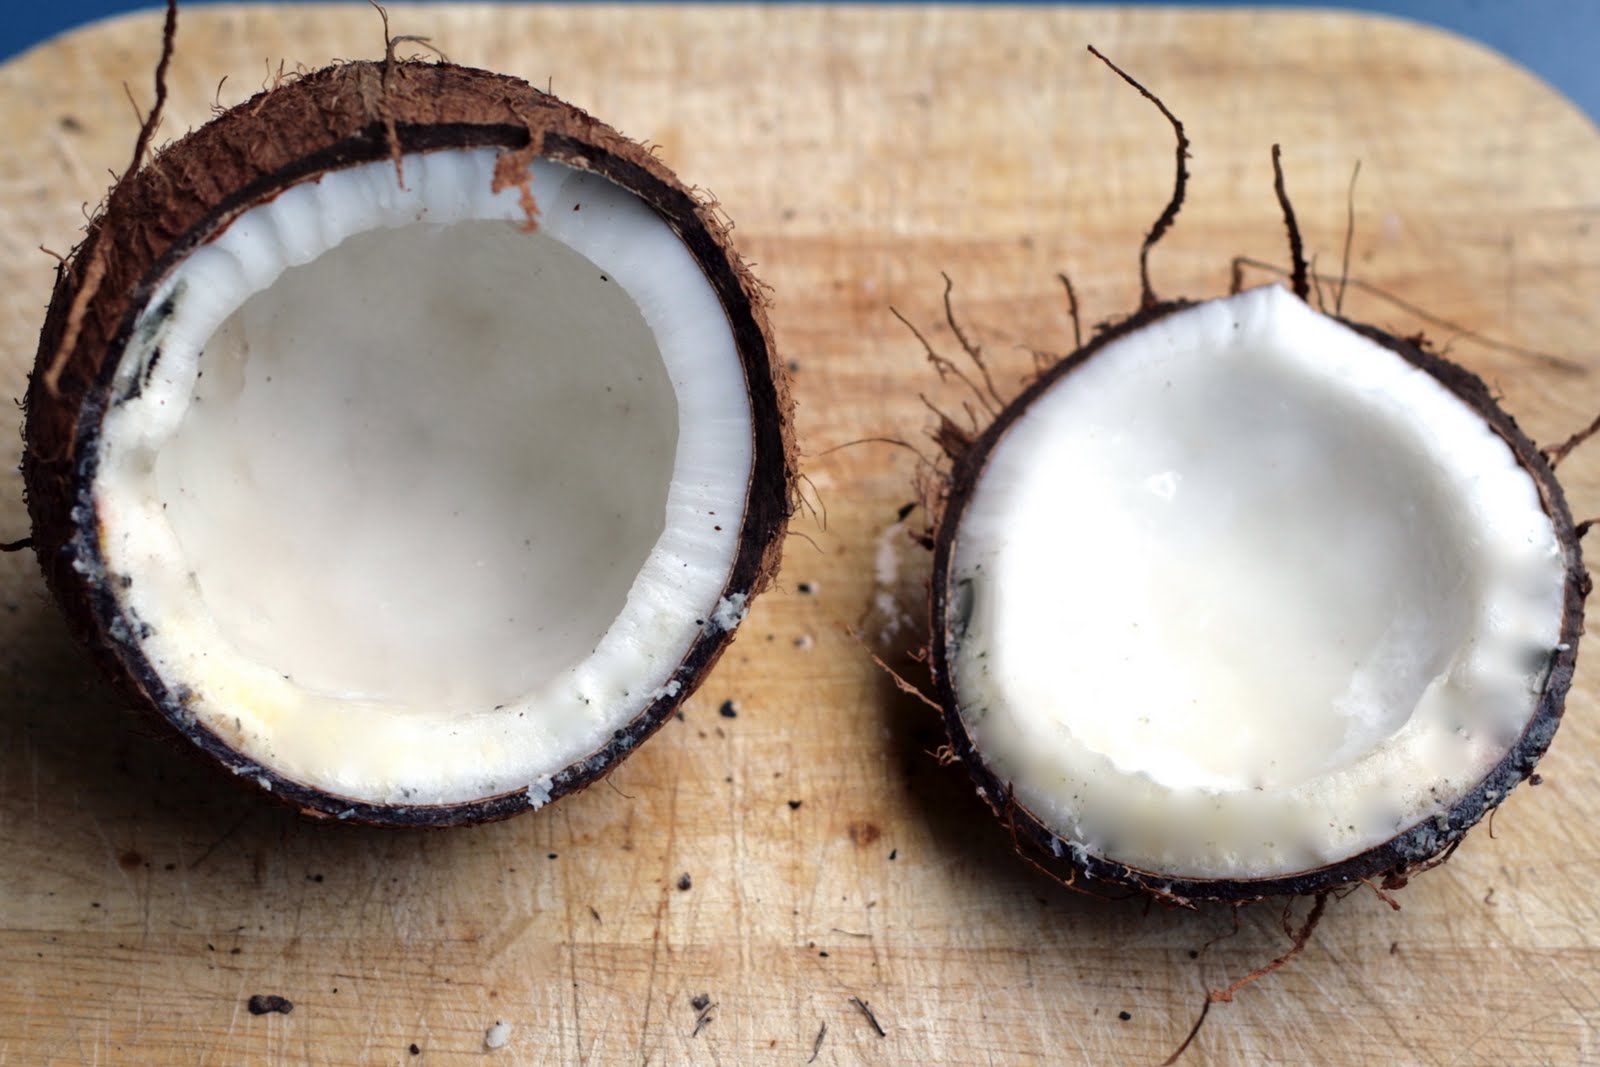 |
| crack the coconut open with the help of a hammer |
 |
| grate the coconut – I have this rather old fashioned gadget it works wonders Alternatively : use a flat head screwdriver to separate the white flesh from the hard shell, it’s not easy, but it can be done. Then use a grater or a food processor to grate the coconut. |
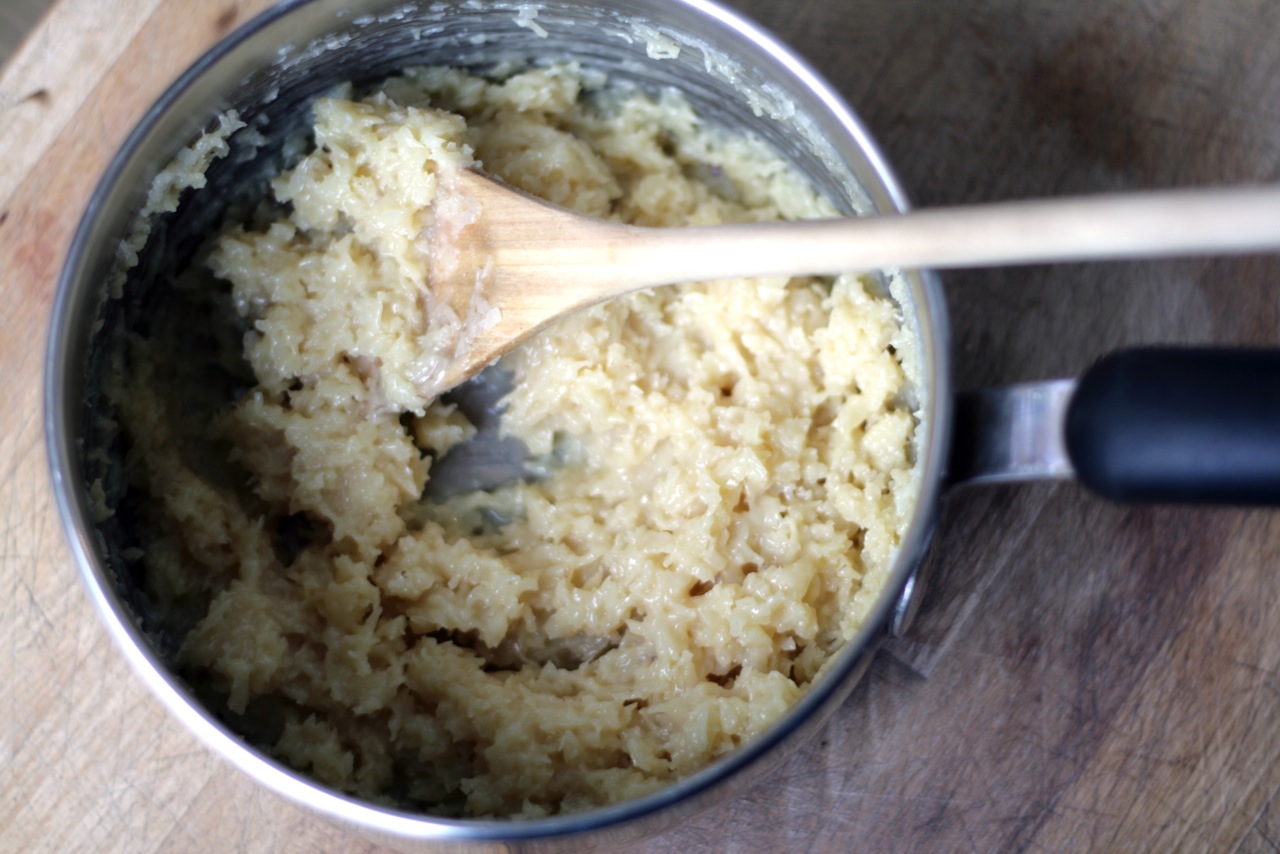
Add condensed milk to the fresh coconut (or dessicated if you are feeling lazy) and cook till you can see the bottom of the pan. Let it cool.
Creamy lime curd filling – Ceri’s delicious and zesty recipe
Zest and juice of 2 limes
75g (3oz) caster sugar
2 large eggs
50g (2oz) unsalted butter
Place the sugar and grated lime zest in a bowl, whisk the lime juice together with the eggs, then pour this over the sugar and zest. Then add the butter cut into little pieces, and place the bowl over a pan of barely simmering water. Stir frequently till thickened – about 20 minutes. You don’t have to stay with it – just come back from time to time to give it a stir. It makes enough for 8″ cake. It’s quite zesty it should be enough for this cake, but you could make 1 &1/2 recipe for a multi-layered cake.
Seven minutes frosting

Ingredients
- 1 1/2 cups sugar
- 1/4 teaspoon cream of tartar
- 1/8 teaspoon salt
- 1/3 cup water
- 2 egg whites
- 1 1/2 teaspoons pure vanilla extract
Method
 |
|
firm peaks
|
 |
| alternate layers of coconut and lime curd in between cakes layers |
 |
||||
| the cake must be completely cool before applying the topping
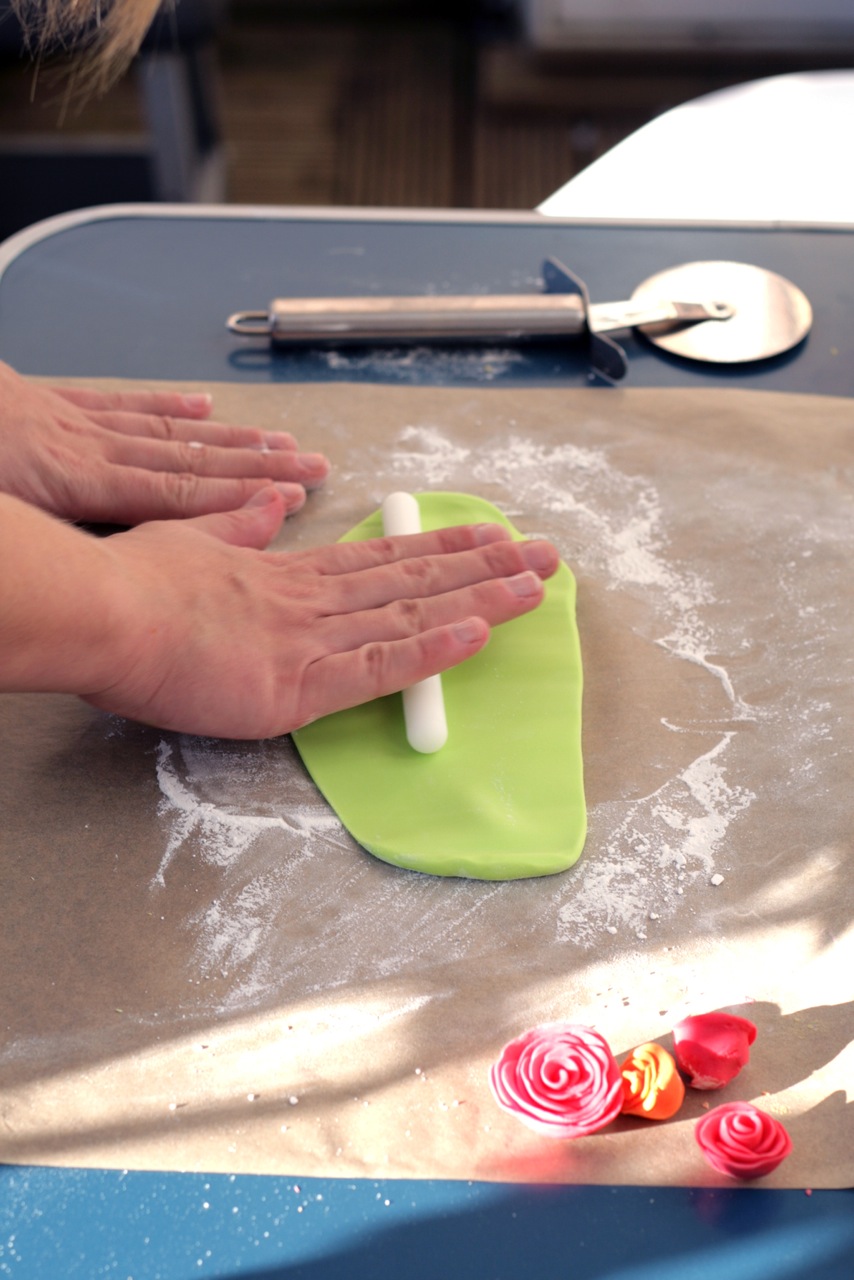
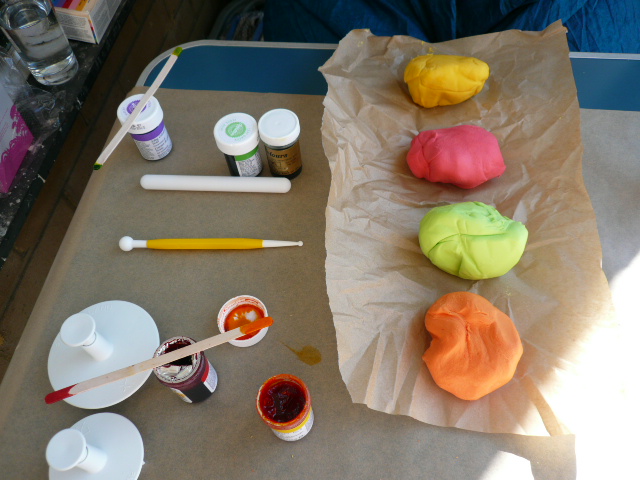
Some decorating techniques with sugar paste based on tropical colours |
 |
|
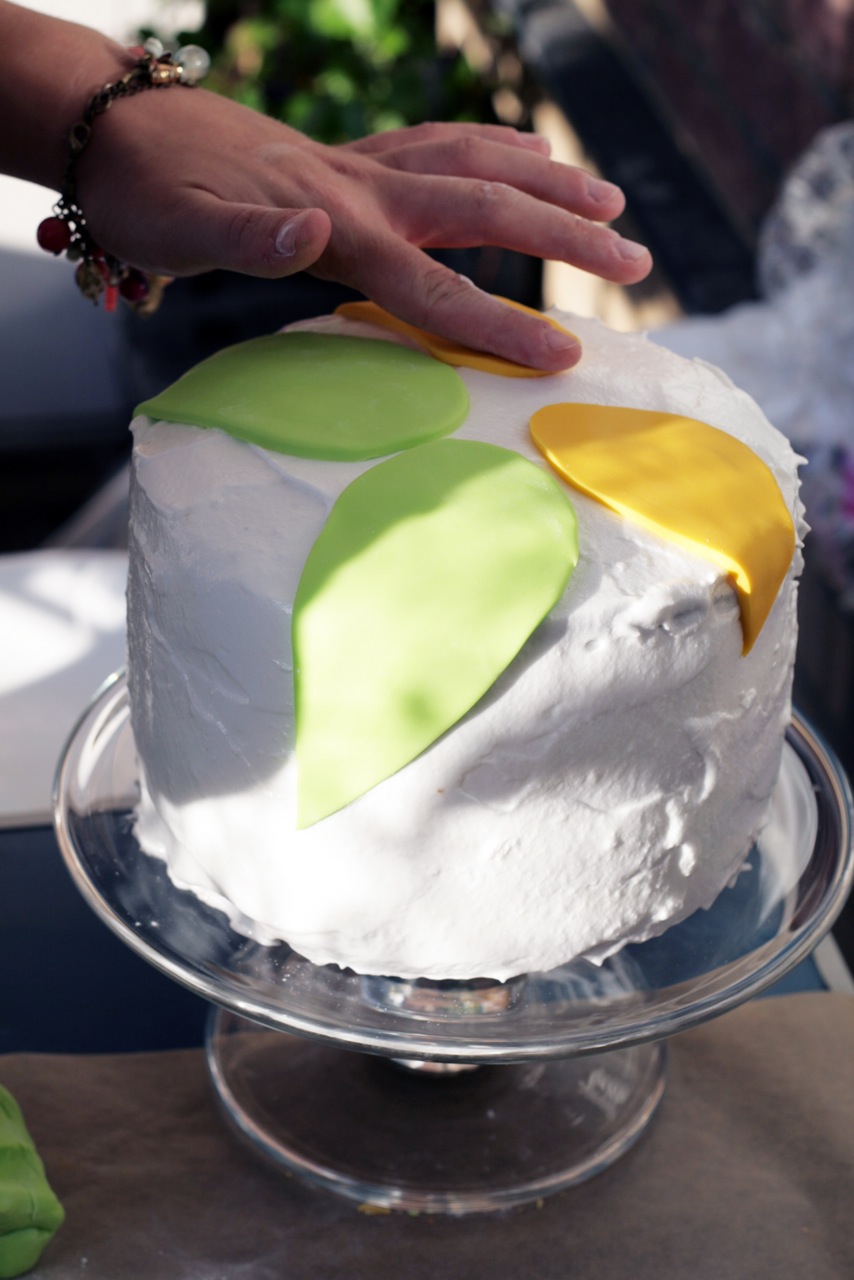
Decorating the cakes
|
 |
|
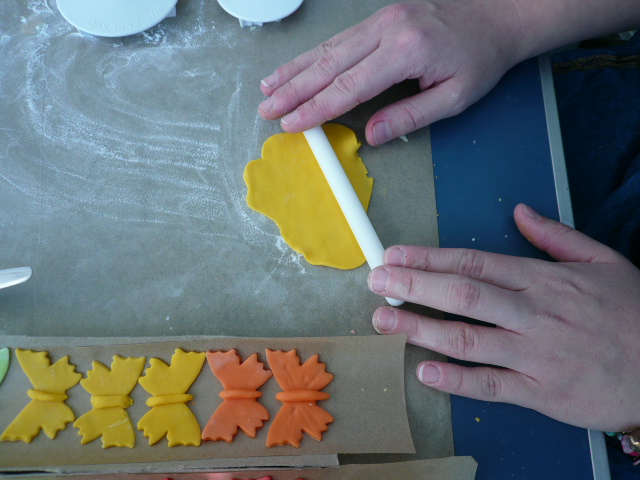
free style shapes
|
 |
|
I really enjoyed working with colour paste- fantastic vivid colours
|
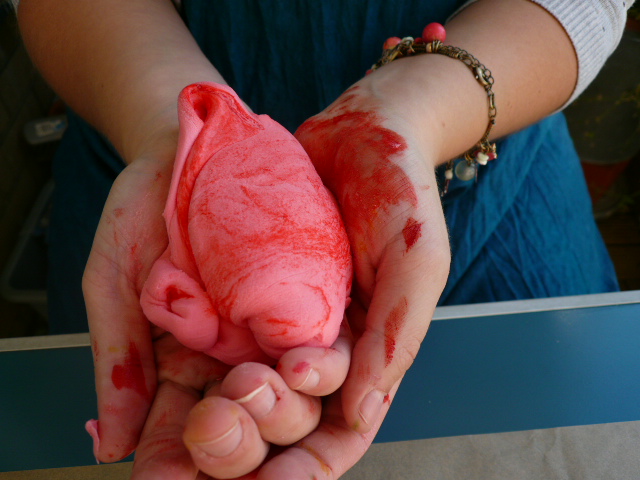 |
| colouring sugar paste using colour paste |
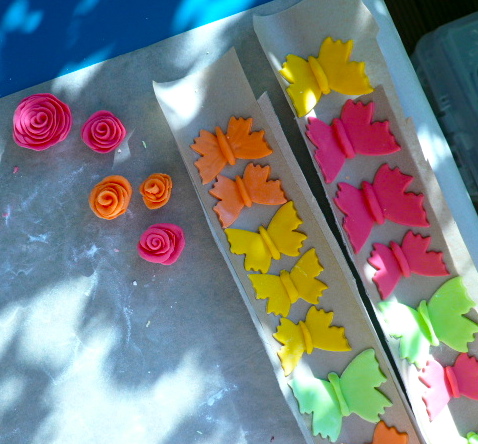 |
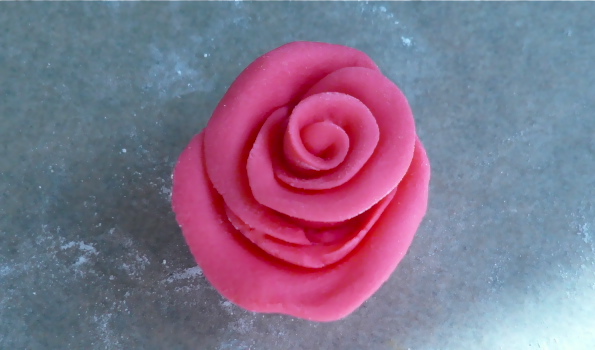
| for beginners: roses and butterflies – Yes, I know how to make simple roses now! just need to practice |
 |
| It was very nice light but it would’ve done with a bit more lime |


 |
| simple cake with a layer of chocolate cake |
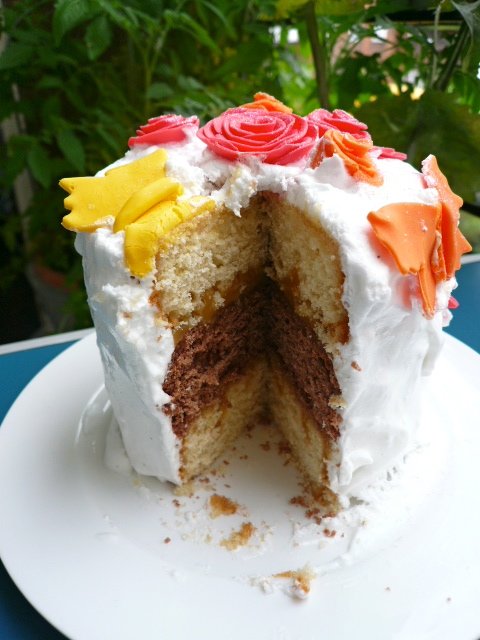 |
| filled with caramel |

Thanks so much Ceri for a lovely day, for teaching me some new cake decoration techniques and for the beautiful photos for this post.

That's a lot of cake love! Thanks for the coconut tutorial.
Hi Debbie I know it really was cake galore! Great fun too.
Amazing!
I'm impressed it looks delicious.
Delicioso, adorei os sorvetes.
Bj, Neto
I clicked the link "how to open a coconut" and then found your wonderful cake recipe. Lime and coconut is definitely a favourite pairing of mine (both sweet and savoury) and I'll be giving this recipe a try. Beautiful!